Blog · 21 October 2026
5S Red Tag: How to Run a Red Tag Event in One Afternoon
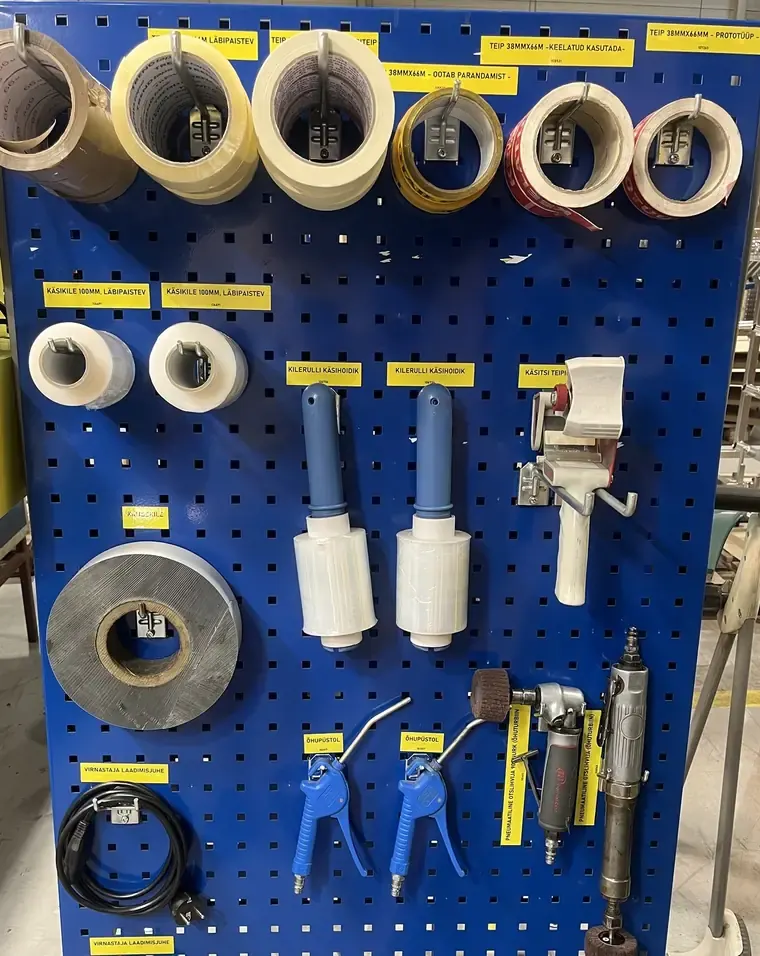
Every shop floor has them. The cabinet with parts from a product you stopped making years ago. The second and third broken tape gun. A pallet in the corner that “belongs to someone.” Nobody throws them out, because nobody is sure they can.
A red tag event solves exactly that. It is the practical way to do the first S, Sort, without arguing about every item on the spot.
What a red tag is
A red tag is a label you put on anything whose place at the workstation is in doubt. It doesn’t mean “throw away.” It means “this needs a decision.” The tag moves the question out of the workstation and gives it a deadline.
Anything with a red tag goes to one marked red-tag area for a fixed time. After that time, someone decides what happens to it.
Before you start: four decisions
Settle these before anyone picks up a tag, or the afternoon turns into a debate.
- The area. One workstation, one machine cell or one shelf system. Not the whole factory.
- The rule for “stays.” Keep it simple, for example: used at least once a week stays at the workstation; used less often goes to a shared place nearby; not used in the last few months gets a red tag.
- The red-tag area. A pallet, a table or a taped square on the floor, with a sign. It must be visible, not a hidden room.
- Who decides, and when. One person (usually the area manager) makes the final call on a fixed date, typically one to four weeks later.
The tag itself
Paper tags, red tape or a printed sheet in a plastic sleeve all work. What matters is what’s written on it:
- what the item is,
- where it was found,
- the date,
- who tagged it,
- why it was tagged (not needed, broken, too many, unknown).
If you can’t tell what something is, that is a reason to tag it too.
The afternoon, step by step
1. Start with a photo. Take one photo of the area as it is. You will want it later.
2. Walk the area with the people who work there. They know what they really use. A manager tagging alone makes people defensive; doing it together makes it their area.
3. Tag, don’t argue. If anyone hesitates about an item, it gets a tag. The red-tag area is where the discussion happens, not the workstation.
4. Move everything tagged to the red-tag area. Right away, the same afternoon. An item tagged but left in place changes nothing.
5. Look at what’s left. The workstation now holds only what is used. This is the moment to give each item a fixed, marked place: a shadow on the board, a label on the shelf, tape on the floor. That is the second S, Set in order, and it is much easier with half the items gone.
6. Take the “after” photo. Put it next to the first one. This photo is also the start of your workstation standard.
A week later: decide
On the agreed date, go through the red-tag area item by item. Each one gets one of four outcomes:
- back to the workstation, because someone needed it after all,
- to a shared place, used now and then, so it lives near the area but not at it,
- to another department, which can use it,
- out: sell, recycle or scrap.
Anything nobody asked for during the week is usually a safe “out.” Write down what left. It shows how much space the area got back.
Why red tag events don’t last (and what to do about it)
The first red tag event almost always looks great. Three months later, the cabinet is full again. Sorting once is easy; keeping it sorted needs a short, regular check against the “after” photo, and someone at the workstation who fixes what slipped. That is the Sustain step, and it is where most 5S efforts fail. We wrote about it in why 5S keeps falling apart.
A simple routine that works:
- Make the “after” photo and two or three lines of text the workstation standard.
- Add one question to your weekly check: “Is there anything here that doesn’t belong?” Our free 5S audit checklist has it under Sort.
- When something is found, send it to the person who works there, not to a meeting.
5Sense is a simple 5S audit app: the “after” photo becomes the workstation standard, audits run on a phone, and every finding goes straight to the person at the workstation. 5S that makes sense. Try the demo
Written by the 5Sense team, people who have run production on the shop floor. About us